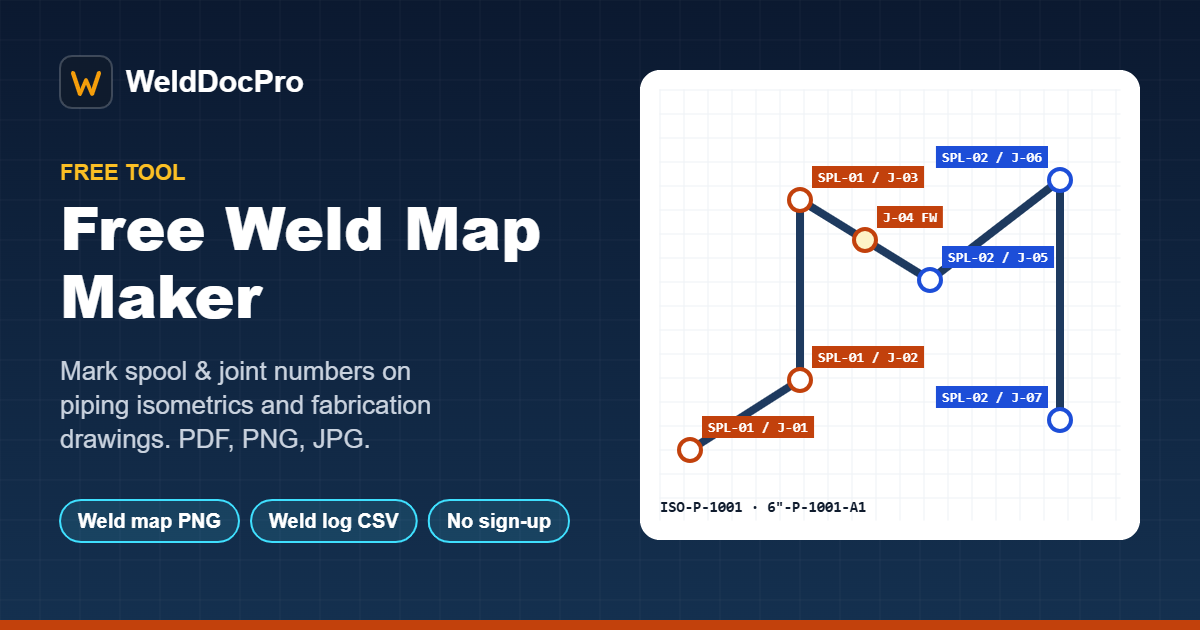
A weld map is the drawing every welding QC team needs before the first joint is welded: each weld marked with a unique number, linked to the weld log, the welder, the WPS and the NDT. Most teams still make it by hand in a PDF editor or CAD. This free weld map maker makes it faster.
- Upload a PDF, PNG or JPG drawing (up to 20 MB, one page at a time)
- Piping isometric: marks spool numbers and joint numbers, like
SPL-01 / J-01, with one colour per spool - Fabrication drawing (structural, vessel, skid, tank): marks joint numbers
J-01, J-02… - Tag field welds (FW), joint type, size and shop/field; drag markers to move them
- Download the marked drawing (PNG) and the weld log (CSV, opens in Excel)
- AI marking (beta): AI suggests the joints for you to check. Marking by hand is always free.
How to use the weld map maker
- Open the tool and upload your drawing. No drawing handy? Click See a sample isometric.
- Choose the drawing type: piping isometric (spool + joint numbers) or fabrication drawing (joint numbers only).
- Click on each weld. Numbers are added in order: J-01, J-02… On an isometric, click + New spool when you start the next spool.
- Check the table: fix numbers, add joint type and size, and set shop or field.
- Download the marked drawing and the weld log, and attach them to your QC records.
How to prepare a weld map (step by step)
Whatever tool you use, a good weld map follows the same steps.
- Use the latest approved revision. Check the drawing number, revision and line number against the drawing register before you mark anything.
- Agree the numbering system first. Read the project specification or ITP. Many clients define the format (for example, line number + joint number).
- Split the line into spools (for piping). A spool is the part made in the shop; field welds join the spools together on site.
- Number every weld once. Go along the flow direction or from one end of the line, so the numbers follow the route. Include butt welds, flange welds, branch and olet welds, socket welds and attachment welds that need records.
- Mark field welds clearly (FW or a field weld symbol), so site and shop work are kept apart.
- Transfer the numbers to the weld log. Every joint on the map must appear once in the weld log, with welder, WPS, date, NDT and status columns.
- Review and issue. Have the map checked against the drawing, then issue it as a controlled copy with the same revision as the drawing.
Weld numbering system: common conventions
There is no single code rule for joint numbering; the project specification decides. These conventions are widely used and easy to trace:
| Item | Common format | Example |
|---|---|---|
| Joint number | J + running number per drawing | J-01, J-02, J-03 |
| Spool number | SPL + running number per line | SPL-01, SPL-02 |
| Full weld ID | Line or drawing no. + joint no. | 6"-P-1001-A1 / J-04 |
| Field weld | FW prefix or suffix | FW-04 or J-04 FW |
| Repair | R1, R2 after the joint number | J-04 R1 |
| Cut-out / re-weld | Suffix agreed with the client | J-04 C1 |
| Added joint (site change) | Letter after the nearest joint | J-04A |
Whatever you choose, keep it the same on the weld map, the weld log, the NDT requests and the reports, so any joint can be traced in seconds.
What a weld map should show
- Every weld joint with a unique number
- Spool boundaries and spool numbers (piping)
- Shop and field welds clearly separated
- Drawing number, line number, revision and material (from the title block)
- Joint type and size where the client asks for it
- Prepared / checked block, or a reference to the weld log that carries it
Weld map and weld log: how they connect
The weld map shows where each joint is. The weld log records what happened to it: fit-up, welder, WPS, date, visual, NDT, PWHT and status. Number the joints once on the map and copy them to the log; never number twice. The CSV from the weld map maker gives you the starting rows. For a full log with welder continuity, see the Weld Log & Welder Continuity Tracker.
Frequently asked questions
Is the weld map maker free?
Yes. Uploading a drawing, marking spool and joint numbers by hand, and downloading the marked drawing and weld log are free, with no sign-up. AI marking is a beta feature with a small free daily allowance and paid Pro plans.
Which files can I upload?
PDF, PNG or JPG up to 20 MB. For a multi-page PDF you choose the page to mark.
Is my drawing stored?
When you mark joints by hand, the drawing stays in your browser. If you use AI marking, the page image is sent to our AI provider to be read and is not stored on our server.
Can I use my own joint numbering system?
Yes. Every spool and joint number can be edited in the table, so you can follow your project or client numbering rules.
Can you prepare the weld maps for my project?
Yes. Send your isometrics or fabrication drawings and we prepare the weld maps and the weld log in your format.
The weld map maker is a drafting aid. Always check every joint against the approved drawing and your project specification before you issue the weld map.
← All guides · Related: Welder continuity rules and free continuity log · Free WPS format in Excel